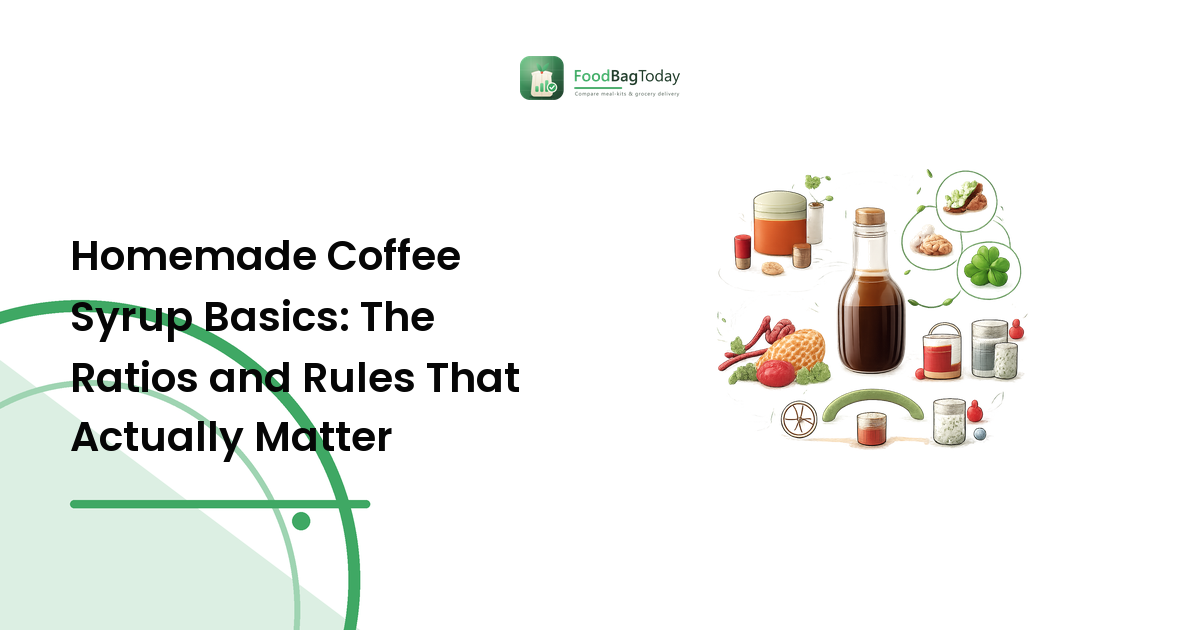
A bottle of flavoured syrup at the grocery store runs $8-12 for something that's mostly sugar and water. Once you know the base ratio, making your own at home costs a fraction of that and takes about fifteen minutes on the stove.
Here's the method, the three ways to add flavour, and the parts people usually get wrong.
The base ratio: start at 1:1
Simple syrup - the base every flavoured coffee syrup starts from - is sugar and water, and the most common starting ratio is equal parts by volume: one cup sugar to one cup water.
That gives you a medium-bodied syrup that dissolves easily into hot or cold coffee. Two variations worth knowing:
- A richer, thicker syrup (roughly 2:1 sugar to water) keeps longer and coats a drink more heavily - useful if you want a stronger effect from a smaller pour.
- A thinner syrup (less sugar relative to water) blends more easily into iced drinks but has a shorter shelf life, because sugar concentration is part of what keeps syrup from spoiling.
The process itself is simple: combine sugar and water in a saucepan, heat gently while stirring until the sugar fully dissolves, then remove from heat. You don't need to boil it hard - once the sugar is dissolved, it's done.
Three ways to add flavour
This is where most of the actual recipe variation lives, and it's worth knowing the three approaches because they suit different ingredients.
1. Steeping. Add the flavour ingredient - vanilla bean, cinnamon stick, whole spices, tea - to the syrup after it's made, then let it sit (often overnight, refrigerated) before straining out the solids. Best for delicate or aromatic flavours you don't want to cook hard.
2. Cooking with the flavour source. Simmer the flavour ingredient directly in the syrup while it's heating - fresh or dried fruit, cocoa, extracted spices. This pulls flavour more aggressively and works well for anything that benefits from a bit of heat.
3. Adding extract or concentrate after cooking. Stir in vanilla extract, almond extract, or a flavoured concentrate once the syrup has cooled slightly. Fast and consistent, but relies on the quality of the extract itself rather than a real ingredient.
Most flavoured syrup recipes use one of these three methods, sometimes combined - a syrup might be cooked with real vanilla bean and finished with a splash of extract for a stronger result.
How long homemade syrup actually keeps
This is the part people get wrong most often, usually in one of two directions: throwing out good syrup too early, or keeping bad syrup too long.
- Refrigerated in a sealed, clean container, a standard 1:1 syrup commonly keeps 2-4 weeks. Higher-sugar syrups (2:1) tend to keep longer; syrups made with fresh dairy, fresh fruit purée, or lower sugar concentrations keep for a shorter window - sometimes just a week.
- Sterilize your container. A quick rinse with boiling water before filling reduces contamination that shortens shelf life more than the recipe itself does.
- Watch for the real signs of spoilage: cloudiness that wasn't there when you made it, an off smell, or visible mould. Sugar concentration slows bacterial growth but doesn't stop it indefinitely - "it's mostly sugar, it can't go bad" is a common and incorrect assumption.
- Label the bottle with the date. It sounds obvious and almost nobody does it, which is why "how long has this been in the fridge" is the most common syrup question there is.
Common mistakes
- Not stirring while heating. Undissolved sugar at the bottom of the pan can scorch, and scorched sugar flavours the whole batch.
- Boiling too hard. A rolling boil isn't necessary for simple syrup and can cause excessive evaporation, throwing off your sugar-to-water ratio.
- Straining incorrectly. Solids left in a steeped syrup (spice pieces, bean fragments) continue affecting flavour and can cloud the syrup or introduce spoilage risk over time. Strain through a fine mesh or cheesecloth before bottling.
- Storing in the wrong container. Non-airtight containers let in bacteria and speed up spoilage. A clean glass bottle with a tight lid or swing-top is standard for a reason.
- Skipping the taste test before bottling. Syrup concentrates as it cools slightly - taste once it's come down from boiling, not straight off the heat, before deciding it needs more flavour.
Building a collection instead of one recipe
A single syrup recipe is a fun weekend project. A collection - several flavours made to a consistent method - is what actually replaces a cafe habit, because variety is most of what you're paying for when you buy flavoured drinks out.
If you want more range than trial-and-error gives you, a dedicated recipe collection does the ratio-testing for you. Coffee Syrup Recipes, a 162-page Kindle ebook by Sharifa McFarlane, is built around exactly that idea - its own listing describes it as recipes "to customize your homemade coffee syrup according to your taste preferences," which is the same principle as the base-ratio-plus-flavour-method approach above, just with the specific combinations already worked out.
FAQ
Can I make sugar-free coffee syrup? Yes, using sugar substitutes formulated for cooking (not all substitutes dissolve or behave the same way as sugar does in a heated syrup). Shelf life is typically shorter than sugar-based syrup, since sugar concentration is part of what preserves it.
Why did my syrup turn out too thin or too thick? Ratio and reduction time. A thinner syrup usually means less sugar relative to water or a shorter cook time; a thicker syrup means more sugar or a longer simmer that reduced the water content.
Do I need special equipment? No - a saucepan, a spoon, a fine strainer or cheesecloth, and a clean bottle with a tight lid cover the whole process.
Can I use these syrups in things other than coffee? Yes. The same syrups work in tea, cocktails and mocktails, over pancakes or ice cream, and in baking - the base method doesn't change with the use case.
How do I know if my syrup has gone bad? Cloudiness that wasn't present when you made it, an off smell, or visible mould are the real signs - not just how many days have passed. When in doubt, don't use it.
The short version
Start at a 1:1 sugar-to-water ratio, pick one of the three flavouring methods, refrigerate in a clean sealed container, and label the date. That's the entire foundation - everything else is which flavours you like enough to keep making.